
A screencast is a video recording of your computer screen, and usually includes audio. Screencasting is also referred to as video screen capture, and is a great way to teach or share ideas. Once recorded, the video can be edited. We recommend either Camtasia by Tech Smith or Screencast-O-Matic. Camtasia is an advanced screencasting software that must be purchased. Screencast-O-Matic is a free resource and is a perfect way to start screencasting.
Introduction to Screencasting
Common examples of screencasts are onscreen tutorials, video lessons, or slideshare presentations. A major benefit of screencasting is that the viewers can watch the screencast at a time when it’s best for them. Additionally, the viewer can absorb the information at their own pace by pausing and re-watching portions. Screencasts add a personal touch in ways that other methods simply cannot (for example, text based instruction).
Watch an example of a screencast showing students how to navigate a website below.
Try it Yourself!
To try this software go to Screencast-O-Matic.com.
Step 1
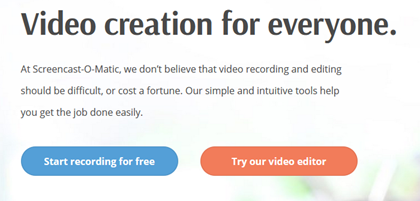
On Screencast-O-Matic.com, click the “Start recording for free” button.
Step 2
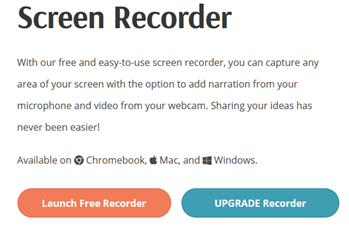
Next, click the “Launch Free Recorder” button. Download and install Screencast-O-Matic. You only need to do this the first time you use it.
Step 3
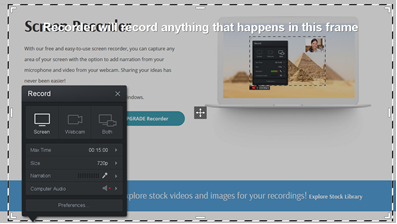
Dotted lines appear on the screen. Stretch the lines to cover the area of the screen you want to record.
Step 4
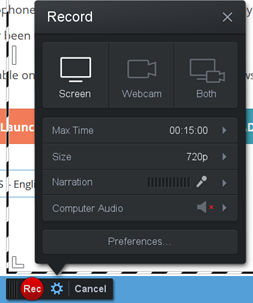
Use the Screencast-O-Matic interface to record your screen. The Narration bar shows if your mic is working. It will light up green when you talk. You can record only the screen, only your web cam, or both. Just select your preference.
Click the Record button when you are ready.
Step 5
When you are finished, click the Pause (II) button.
![]()
Step 6
If you are finished, click Done. If you want to record more, click Rec again.
![]()
Step 7
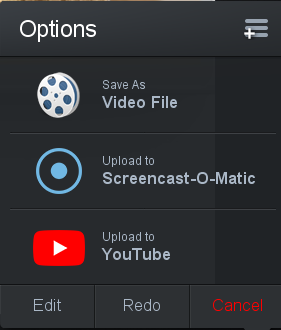
When you click Done, an options menu will appear. Save the video.
Step 8
Upload the video to YouTube. Use the Upload A Video to YouTube page to assist you.
Revised: March 12th 2020
