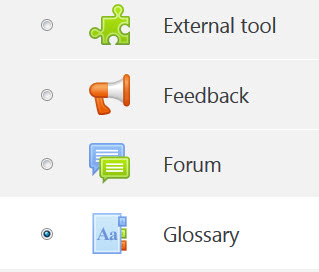
A glossary assignments allows instructors to let students build a dictionary of important terms related to the course. Once the glossary is created, students can return and use it as a study guide. Follow the instructions below to create a glossary assignment in Moodle.
Step 1: Toggle the Edit Mode button to enable editing.
Step 2: Locate the desired module to add the glossary and click “Add an activity or resource”.

Step 3: Locate glossary activity and press add.

Step 4: Customize the glossary (follow the directions below).
General Tab: After creating the glossary a name is required. A description can also be added to it.

Entries Tab: These are the settings for the glossary. This pertains to how entries are added, whether editing or comments are allowed and linking with glossary words in posts.

Appearance Tab: This tab changes the format of the glossary as well as how many entries are shown.

Step 5: View and ensure the glossary is set up correctly.
This is an example viewing of a glossary with the special and all tabs turned on with entries.

Student instructions for adding to the glossary.
Shown below is where the new entry button is located for students to add entries.

Below is an example of a glossary entry page.

Revised Dec. 2022
