Microsoft Teams can be used to communicate with faculty/staff or students in real-time using announcements, scheduled meetings, and file/ app sharing. If you previously used a Moodle course as a “club”, this is a great alternative with the same functionalities plus more.
You can acess Teams via web, desktop app, or mobile app (compatible with iOS and Android).
Please note, Microsoft Teams is managed by our ITS Department; therefore, if you wish to create and manage your own Microsoft Teams site, you will have to submit a ticket via the ITS Help Desk system (NOT eLearning’s).
ITS’ Best Practice for Organizing Teams:
- Add Teams gradually: Start with a small number of teams and team members. Add new people and groups as you go. Avoid creating a bunch of different teams that have the same set of members; instead, create channels in a single team.
- Create channels to focus discussions: Create initial channels so people know where to contribute and to find existing conversations. Use descriptive channel names so people know where to go.
- Use the General channel: The General channel is created for you when you create a team. Use it for things such as announcements or other information that a team member would find useful.
- Keep your teams/channel name short, descriptive and to the point: Avoid using names that are over 30 characters as they will be truncated. Avoid the use of certain words such as “Test”, “Demo”, “Temporary”, People’s Names, or Acronyms that are poorly understood. This ensures users have ways to discover workspaces that already exist instead of creating new ones.
- Do not use special characters: Channel names cannot contain the following characters: ~#%&*{}+/\:<>?|’”,.
- When providing ITS a Teams site name:
- Be sure to avoid Team Site Names that include “Test”, “Demo”, “Temp(orary)”, people names, and acronyms.
- Keep in mind Teams Site Names are truncated after 30 characters.
Below are a few how-to’s to get you started once your Teams site has been created. Instructions are given using the Teams Desktop application:
Create Channels:
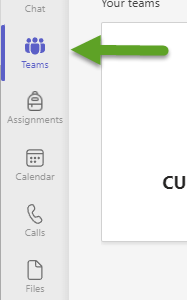
- Login to Teams and select “Teams” on the left hand navigation panel
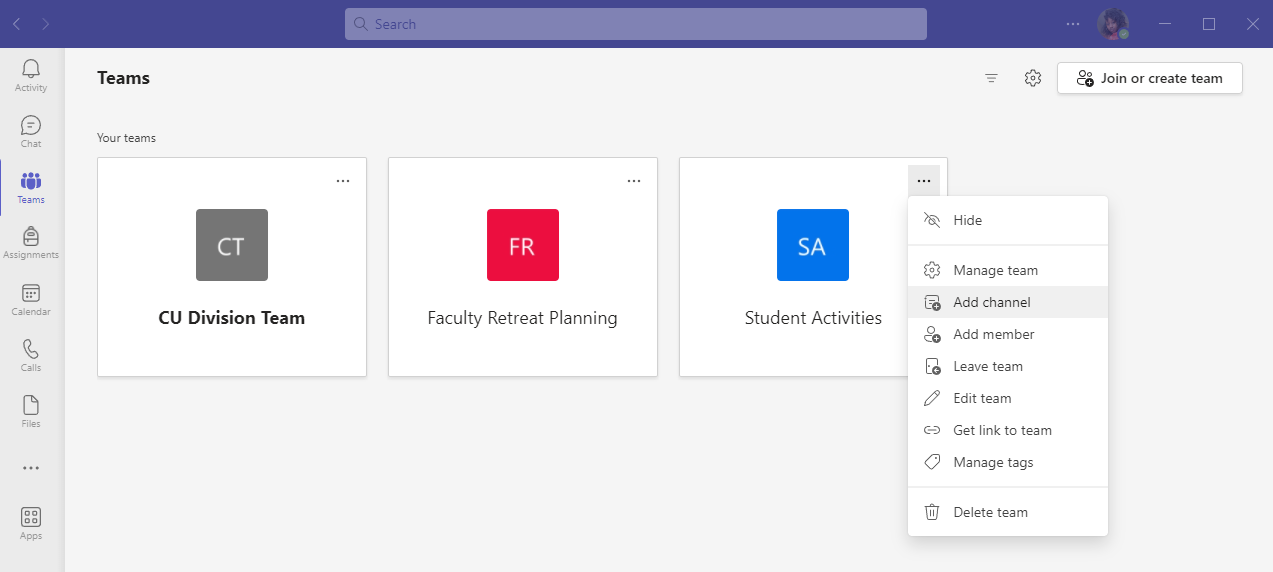
- Find your Teams site block and select the three dots in the upper-right hand corner.

- Select “Add Channel”.
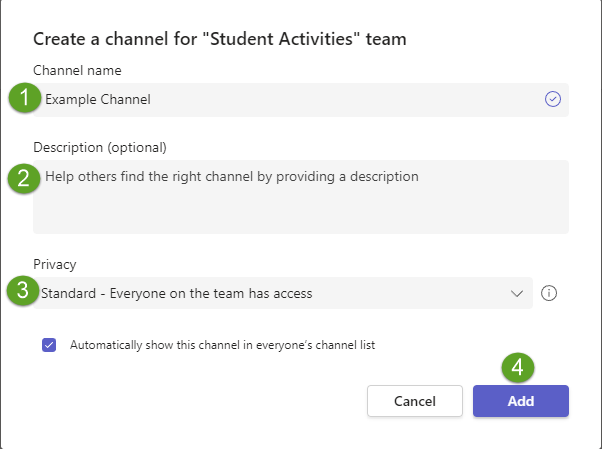
- Enter the necessary details/ permissions and select “Add”.
Add Users:
NOTE: All site owners will be expected to manage their own users. ITS will grant 1 person admin access to their Teams site with a couple other ITS folks as backup owners in case that person is absent.
- Login to Teams and select “Teams” on the left hand navigation panel
- Find your Teams site block and select the three dots in the upper-right hand corner.
- Select “Manage Team”.
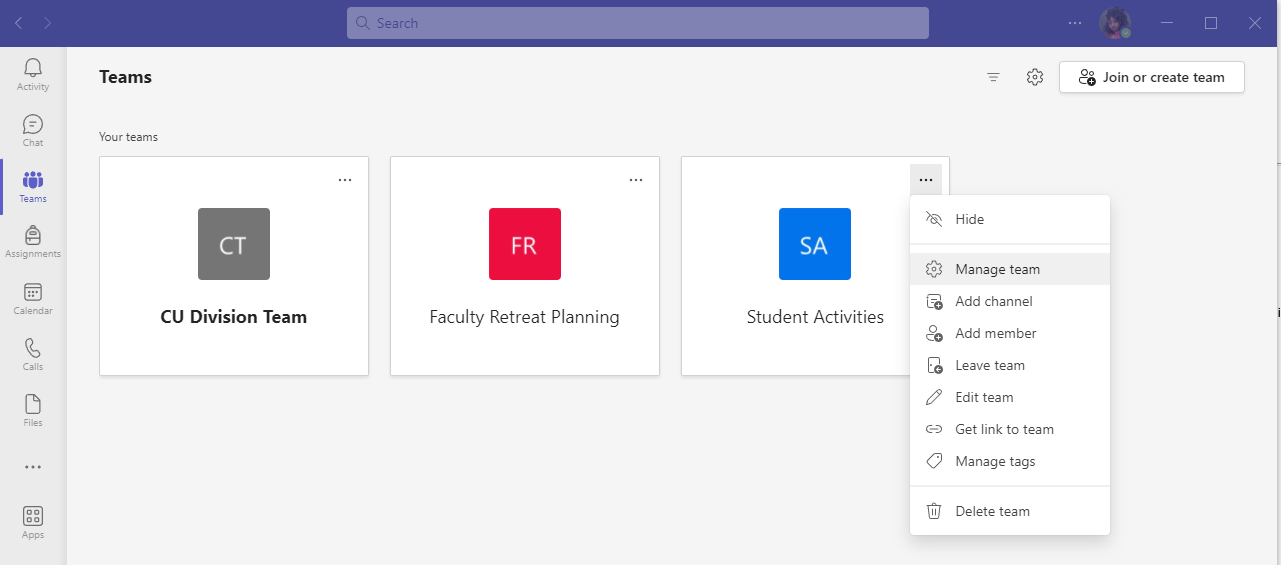
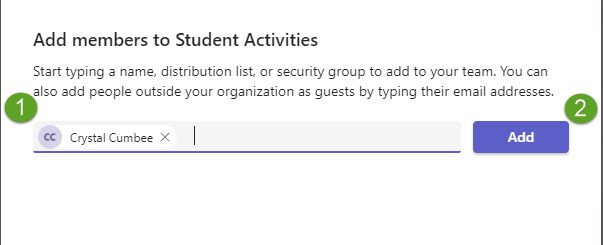
- Select “Add member”.

- Enter in the name, distribution list, or security group to add to your team. Once done, click “Add” and a request will be sent to your recipients.
- To remove users, review the “Members and guests” list and selecting the “X” for that particular user.
Schedule Teams Meeting:
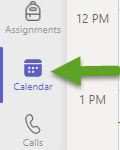
- Login to Teams and select Calendar in the lefthand navigation
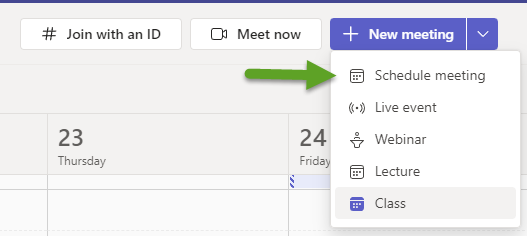
- Select the “New Meeting” dropdown to view your options. We recommend the “Schedule meeting” option.
- Fill in your meeting details. In the “To” section, you can even type in the name of your Teams site to ensure the meeting is sent to everyone.
- To cancel the meeting, go back to the meeting details and select “Cancel meeting” in the upper lefthand corner.

NOTE: You can also schedule meetings from within your Team channels as well.
Add Member Tags:
Member tags can be used to notify a group of people all at once by @mentioning a tag (only owners can apply tags). To implement, use the following instructions:
- Login to Teams and select “Teams” on the left hand navigation panel
- Find your Teams site block and select the three dots in the upper-right hand corner.
- Select “Manage Team”.
- Under the “Members and guests” section, find the user and hover over the whitespace under the “Tags” column. A tag icon should appear.

- Type a tag name and select the Create tag option. Once you’ve created it once, it stores it in the system and can be selected for other users.
