Student Onboarding
For an inside look of the student’s perspective on how to onboard and complete a SmarterProctoring exam, have a look at the printable student guide. You can share this guide with the class in order for them to better prepare.
Create Exam/Quiz in Moodle
IMPORTANT NOTE: The instructions below are written from the perspective of an entire class using SmarterProctoring for their quiz/exam. However, we are aware in some instances, instructors prefer a portion of the class to take it live, in person and the rest via off campus (which is where SmarterProctoring would come in).
- Create your quiz/exam in Moodle.
a. Access your Moodle course and toggle the Edit Mode button to enable editing.
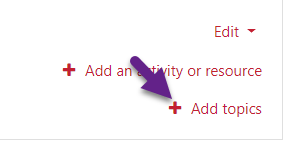
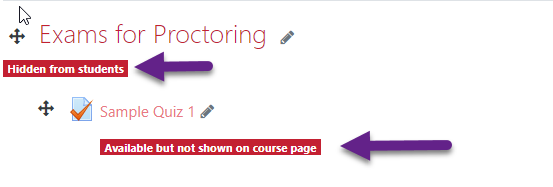
b. Determine which topic block you want to create your quiz in. If necessary, scroll down to the bottom of your course and select “Add Topics” to add a new Moodle topic module.NOTE: If you plan to have an entire class take an exam, you may want to dedicate a whole topic block to SmarterProctoring Exams. You should set that block as hidden, but the quiz/exam itself would have to be marked as “Available but not shown on course page”.
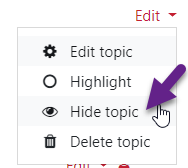
c. Once the location is decided, click “Edit” for that topic block and select “Hide topic”.
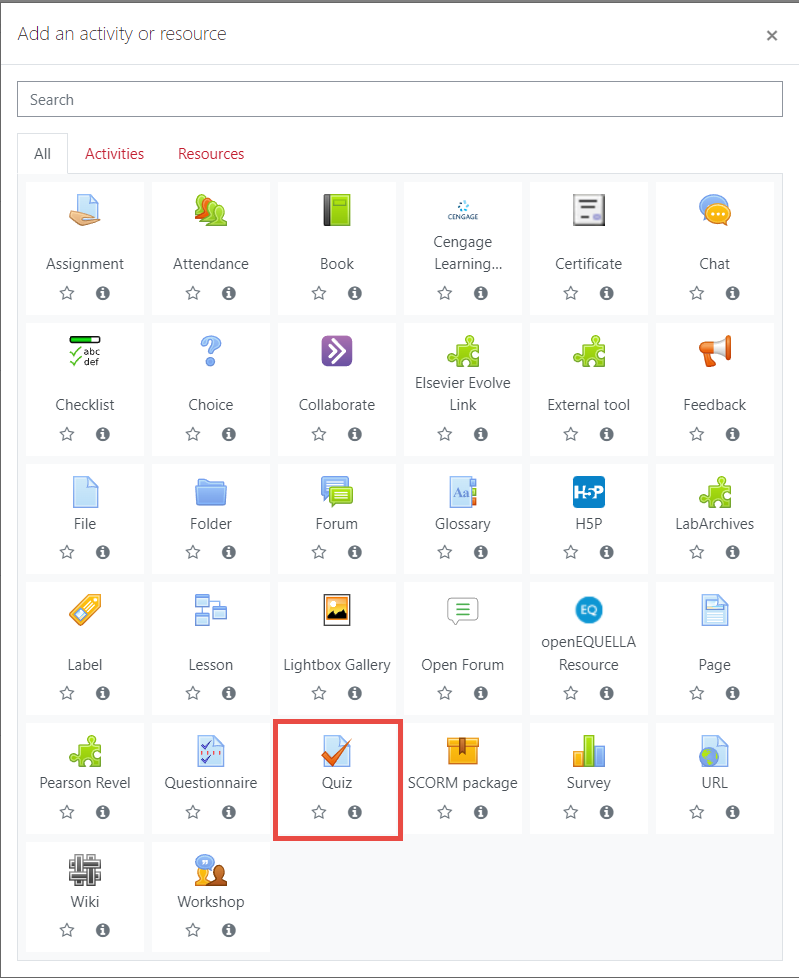
d. Next, click “Add an activity or resource”, select the Quiz option, then click “Add”.
e. Enter the name of your quiz/exam and any details you prefer. Once done, select “Save and display”.
NOTE: Be aware that the details you specify for the quiz must match up to the SmarterProctoring details we will be setting up in the upcoming steps (i.e. password, timings, accommodations etc.)
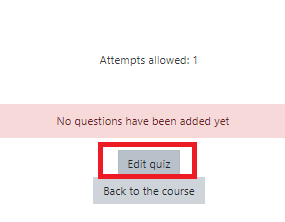
f. Next, select “Edit Quiz”.
g. In order to add in your quiz questions, review the following link for assistance.
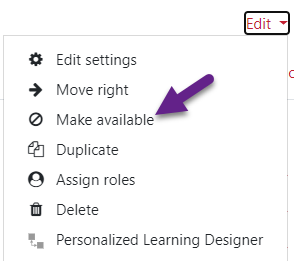
h. When you’re done setting up your exam, be sure your quiz is made available.
i. The topic and exam/quiz settings should look like the image below:
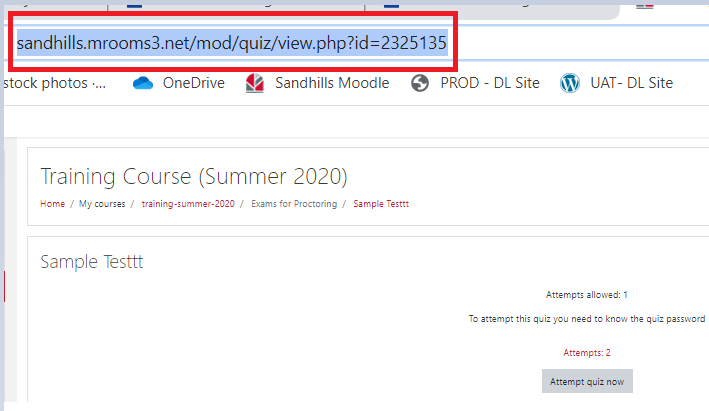
j. Once you have saved all your changes, click on the exam and copy it’s URL in Notepad for later use
Link Moodle Exam/Quiz to SmarterProctoring
- Navigate to the Course Dashboard for SmarterProctoring by clicking on the SmarterProctoring portal link on the course homepage.
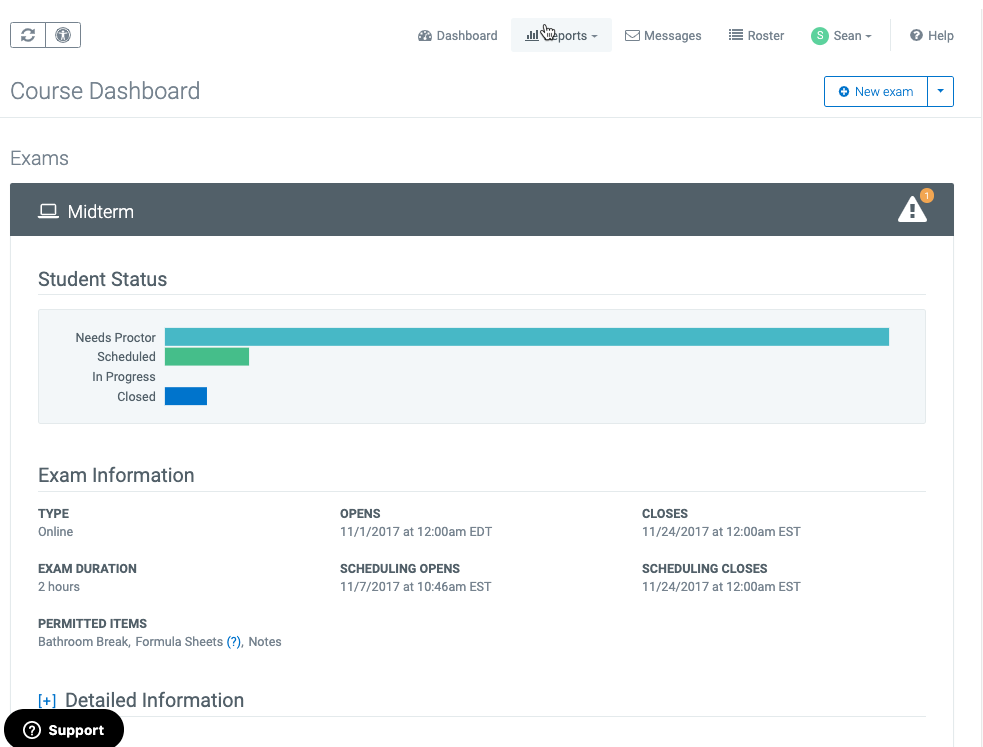
- Click on the New Exam box in the top right corner.

- On the Exam Form page, provide the following information:
(If there are any questions as to what each field is/why it is included, hover your mouse over the (?) and an explanation box will pop up.)
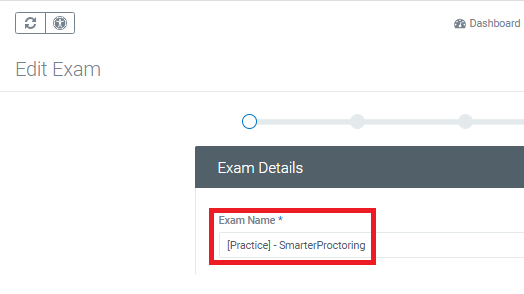
A. Name of the exam/quiz. Remember, if it’s a practice exam, here is where you’ll add “[Practice]-” (no quotes), then the name of the quiz.
B. Amount of time allowed for students to complete the exam/quiz. Please note that the exam duration cannot exceed 5 hours else it will prompt students for payment.
C. Password students must enter to open the exam (this is required). If your quiz shell does not have a password, that’s okay. Type in anything in this field. It will not prompt the student for a password unless you set the Moodle quiz shell up that way.
D. Direct link to the exam/quiz in Moodle
1. Take the Moodle quiz URL link you copied into Notepad
2. Copy and Paste that url link the in “Exam URL” section
E. Number of attempts allowed
F. Date/time exam/quiz will open and close (feel free to have the quiz open a little earlier than your Moodle quiz to account for onboarding if you are strict on timing).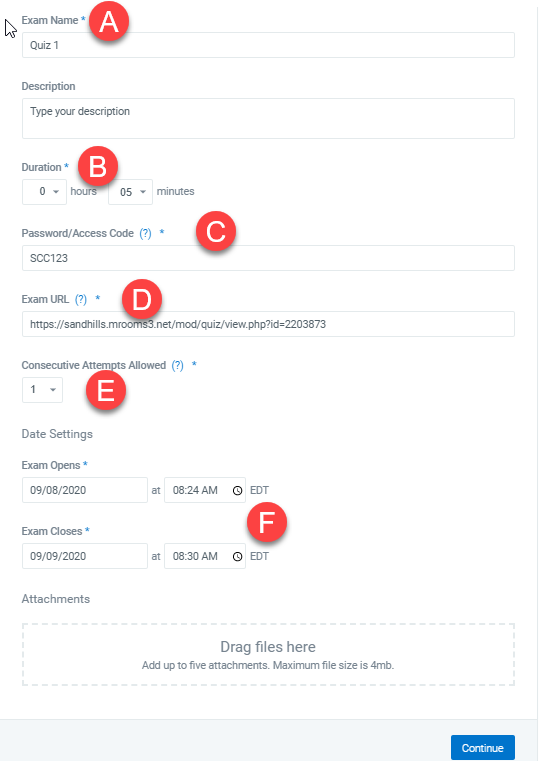
- Click Continue in the lower right corner
- Next, you will be directed to the Permitted Items section which allows you to toggle on/off the items that will be permitted for the exam. All of the information on the permitted items will be displayed for the student and proctor prior to the exam. When finished selecting items, click on the Continue button in the lower right corner of the page.
- Additional information for each field toggled ‘on’ can be added if necessary
- Virtual Calculator Option – SmarterServices paired up with ClassCalc to integrate a virtual calculator option in the SmarterProctoring settings to better assist students while taking an exam if necessary.
Take a look at the tutorials below to learn more: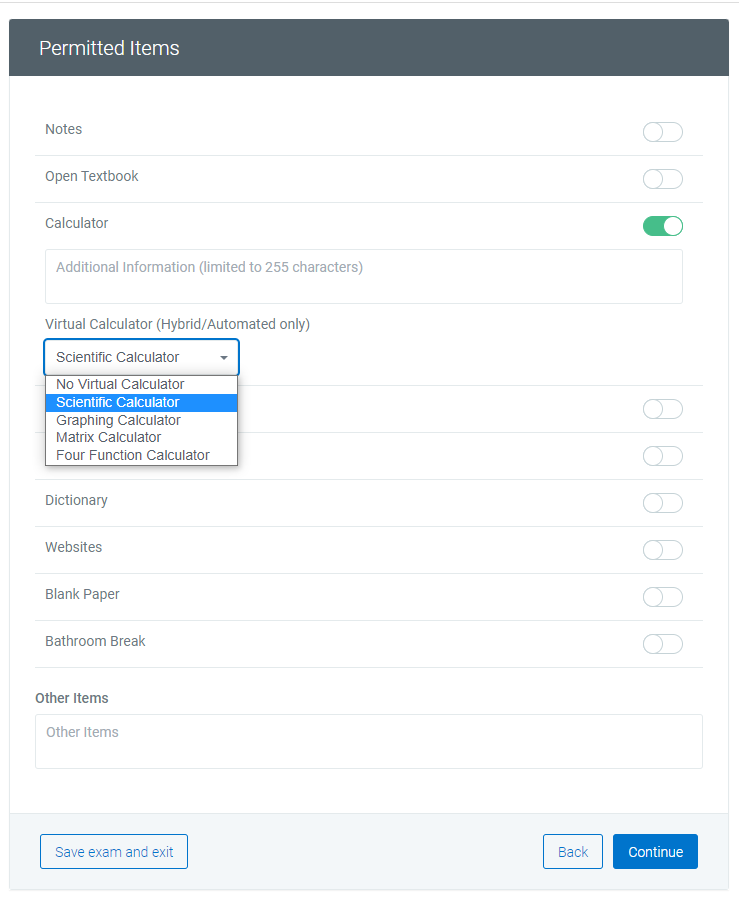
- Provide any overall notes/instructions to students and click Continue to move on or click Back to edit information from the previous page.

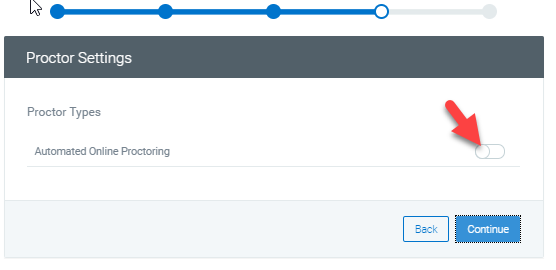
- On the Proctor Settings page, enable the Automated Proctoring.
- Once Automated Proctoring settings are enabled, the settings menu will expand with default dropdown options of “Strict” & “Lenient”. You can also set your own custom settings. With the custom settings, you can pick and choose the rules that the student will abide by when taking their exam via an automated proctor. When you have your proctor settings selected, click “Continue” in the bottom right corner.
NOTE: If you select “Record Screen”, it is mandatory that you also select “Record Webcam” and “Record Audio”.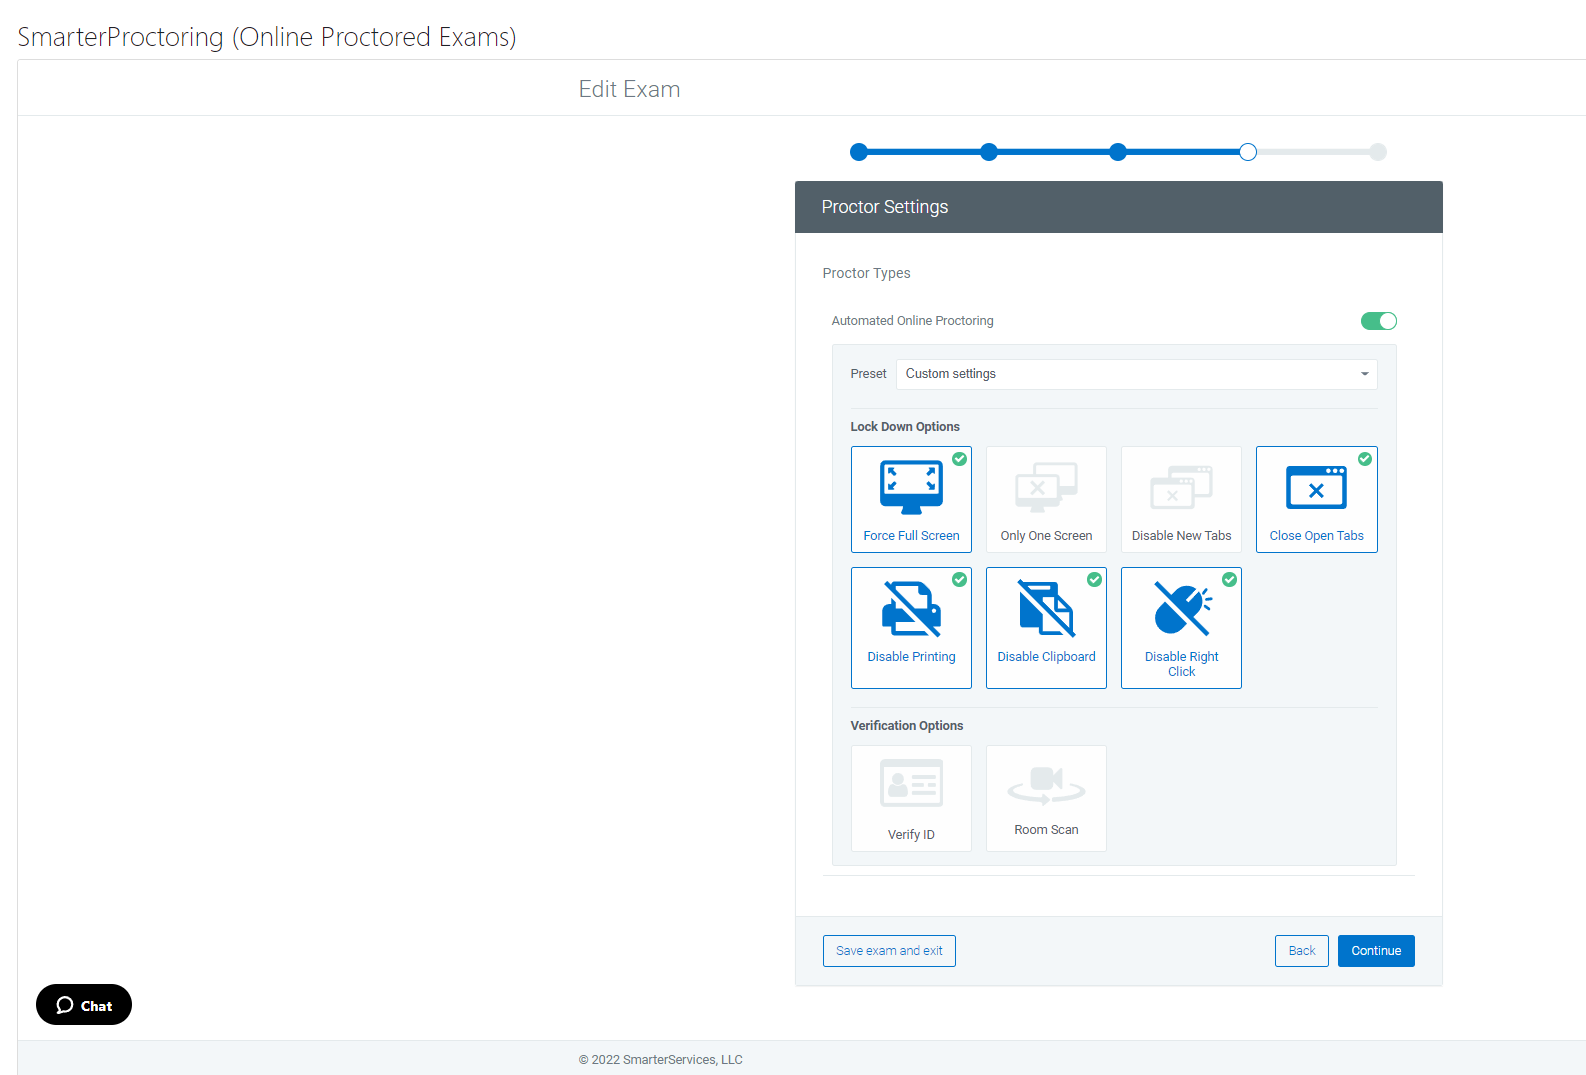
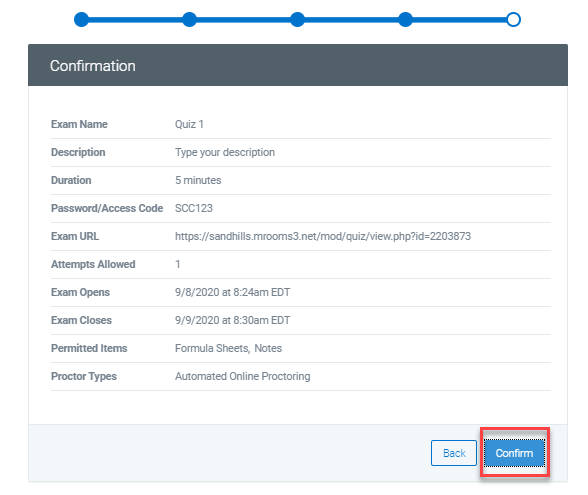
- The final page before finishing is the confirmation page. You can review all the information that has been input and make corrections as needed before saving. Once you are ready to submit the exam, click Confirm.
Students with Accommodations
If you have students who require accommodations for exams, please follow the steps below:
- First, add the necessary accommodations in your Moodle quiz that lives outside of SmarterProctoring. Use the following link for how to grant student accomodations/ extensions.
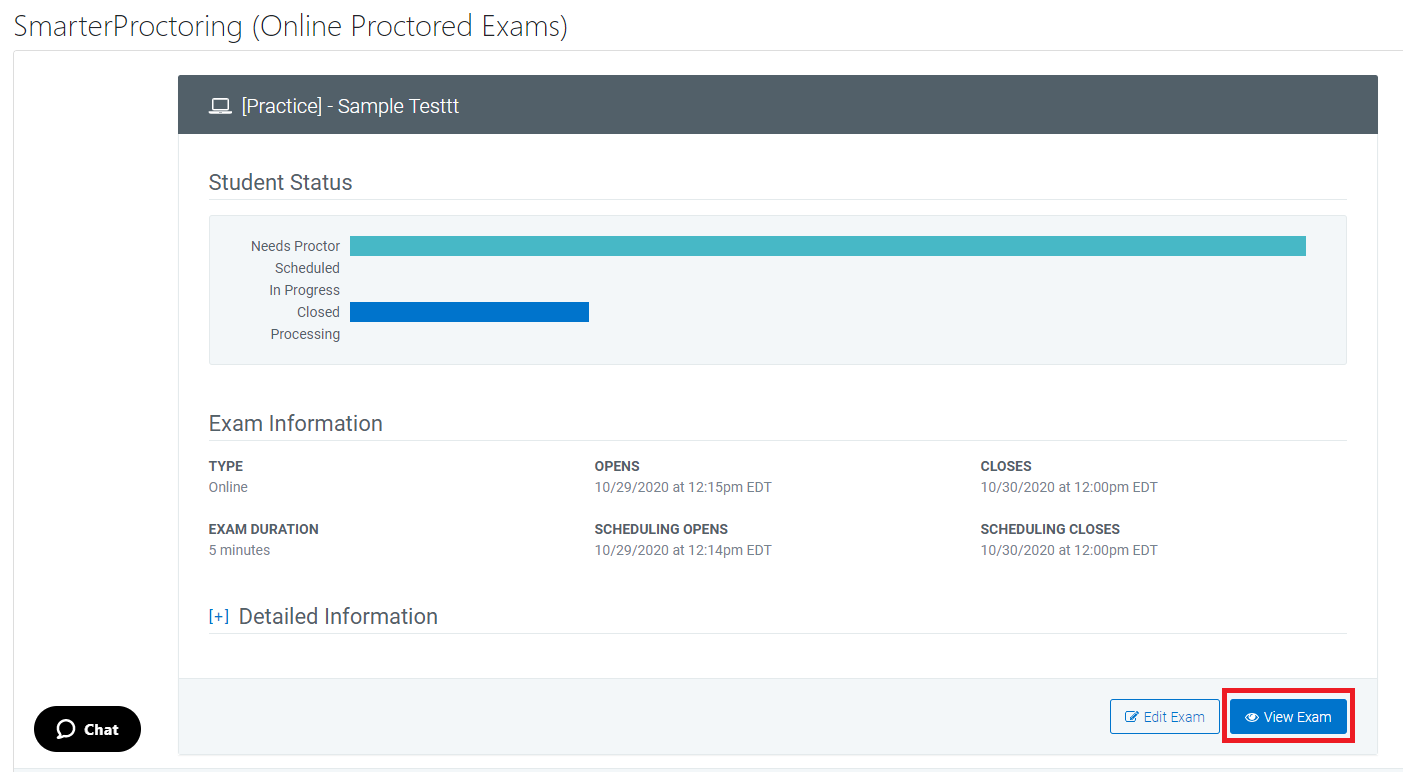
- Navigate to SmarterProctoring portal link and select the “View Exam” option for your particular quiz.
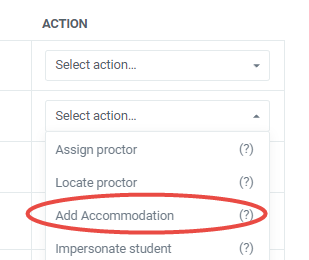
- Locate the student’s name and select the drop down list under the Action column for their row.
NOTE: If you do not see the student’s name, it’s because they never used SmarterProctoring. Have the student click on the SmarterProctoring portal link in your class and answer any personal information so that their name can register in the SmarterProctoring system. - Select “Add Accommodation” under the Action column.
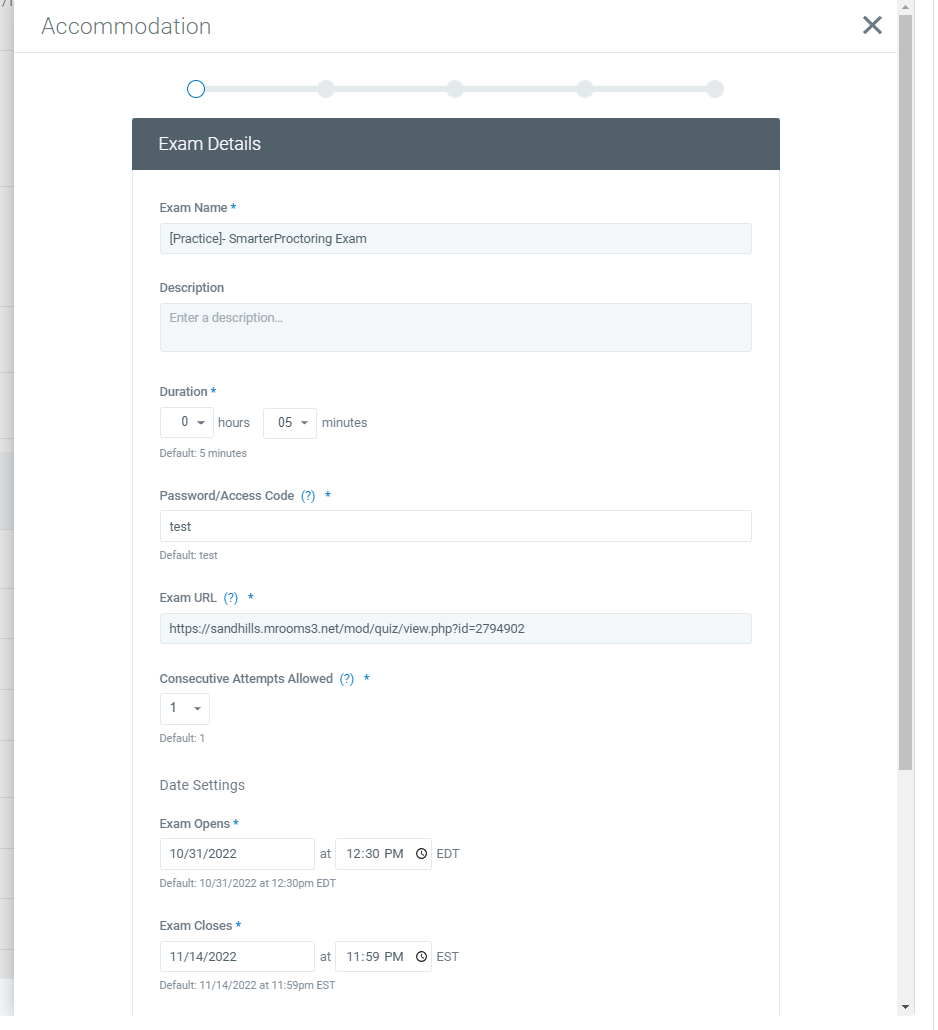
- Once selected, the typical Accommodation SmarterProctoring settings pane should appear. Add any extra time as you see fit, but make sure it matches what you set in the Moodle quiz override.
- Continue through your pages and select “Confirm” once done. The changes will take place for that student only. You’ll notice an “Accommodation” message under the Notes section once complete.

- If you need to make changes of any kind to the accommodation settings, you can go back to the drop down list and select “Edit Accommodation”.

IMPORTANT NOTES/REMINDERS:
- We are charged per proctored quiz/exam BUT if you enter “[Practice] –” in the name of your SmarterProctoring quiz/exam, the College will not be responsible for paying. It is highly recommended that students take a practice exam before your actual exam to verify they can successfully onboard.
- Be sure your SmarterProctoring settings are matching up with the quiz/exam settings from Step 1e. Anything that doesn’t match (time limits, passwords, etc.) may prevent students for properly completing the proctored quiz/exam.
